
Sharing a PowerPoint presentation in Teams

For: StaffApplication: MS TeamsTagged: Microsoft Teams , web conferencing
To share an online presentation, you can either share your screen with PowerPoint open on your PC or upload your presentation directly into Teams. There are several options for screen sharing and configuring your PowerPoint files when presenting online. You can choose to display your entire desktop or just a specific application on your PC. You can also configure Teams to utilise multiple displays to host a presentation (where multiple monitors are available).
This guide covers:
Share your screen in Teams
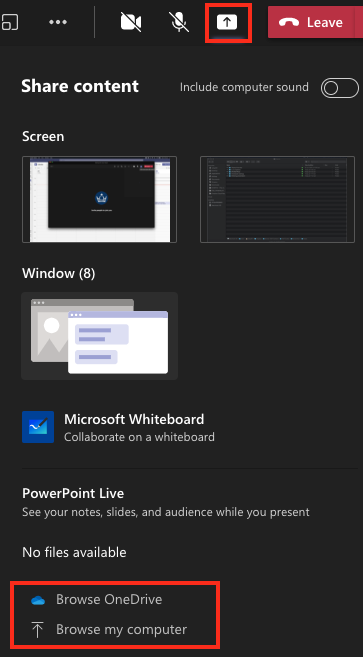
During a Teams meeting, select the Share Content icon at the top of the window to initiate screen sharing. You will be presented with a window displaying all the available options for sharing. This window will list any displays connected to your device (i.e., Desktop 1, Desktop 2), which will broadcast everything on the selected desktop.
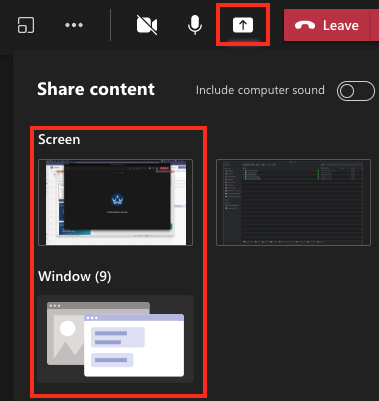
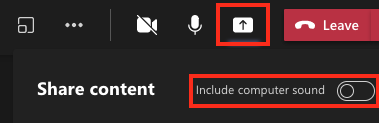
Sharing your entire screen may be the best option if you intend to switch between applications during your presentation. When sharing media, like a video or audio clip, toggle the option to Include computer sound.
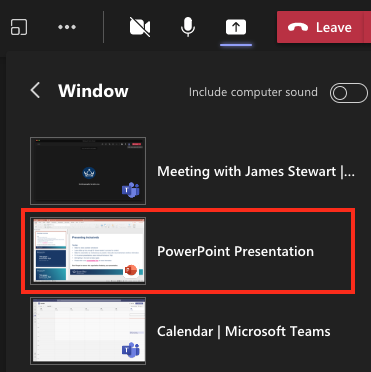
Teams will also list options for sharing any specific windows currently open on your PC, allowing you to only broadcast a specific application and hiding the rest of your desktop from view. If you want to only display your presentation file, ensure the PowerPoint presentation is open prior to clicking the Share Screen button.
Upon sharing your screen, the Teams interface will minimise so you can better view your shared content. There will be a small Teams window at the bottom of your screen where you can see the active speaker and use basic meeting controls.
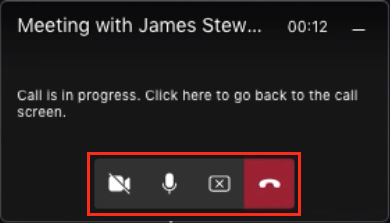
There will also be a bar at the top of the screen allowing you to give control of the presentation to another participant or Stop presenting. If this bar disappears, hover your cursor at the top of your screen and it will unhide. Click the ‘Pin’ icon to keep the bar visible at all times.
![]()
Please note: If you are sharing your web browser, Teams will broadcast any tab open on your screen to participants. Keep this in mind if you need to access personal information such as your email account.
PowerPoint presentations with multiple displays
When delivering a Teams presentation with multiple displays (i.e., two monitors connected to a PC or a laptop with external monitor), you may want to take advantage of the second display to monitor participants. By adjusting your PowerPoint settings to disable ‘Presenter View’, you can utilise an additional display to open the Chat and Participants windows, or to view participant videos.
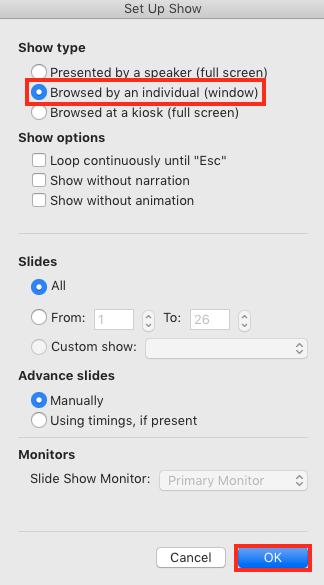
To disable Presenter View, open PowerPoint and select the Slide Show tab and then click Set Up Slide Show.

In the options window, under Show type, select Browsed by an individual (window), and click OK.
When ready to present, click Play from Start to expand your presentation view. Rather than taking over both displays, your presentation will now display in a window that can be expanded and moved between your screens.
Select Share content in Teams and select your PowerPoint presentation from the list of windows to share. Open the main Teams meeting window after sharing your screen and move it to your second display. You can now monitor the chat and manage participants whilst presenting.
Upload a presentation file into Teams
If you do not want to share your PC screen when presenting, you can upload and share a PowerPoint file directly in Teams. This can be advantageous when you do not have a strong internet connection or if you have multiple presenters who will need to control the slides during the session.
Click the Share content icon at the top of the meeting window and select Browse my computer to upload a file (or select Browse OneDrive if your presentation is located in your QMUL Office 365 account).
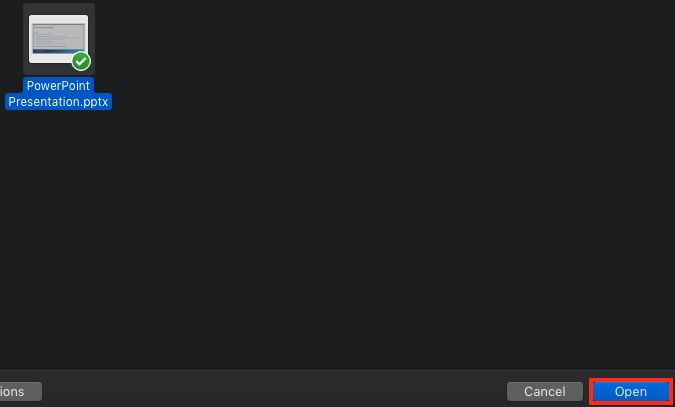
In the file browser, locate the presentation file on your PC and click Open. It may take a few moments for Teams to upload and convert your presentation file.
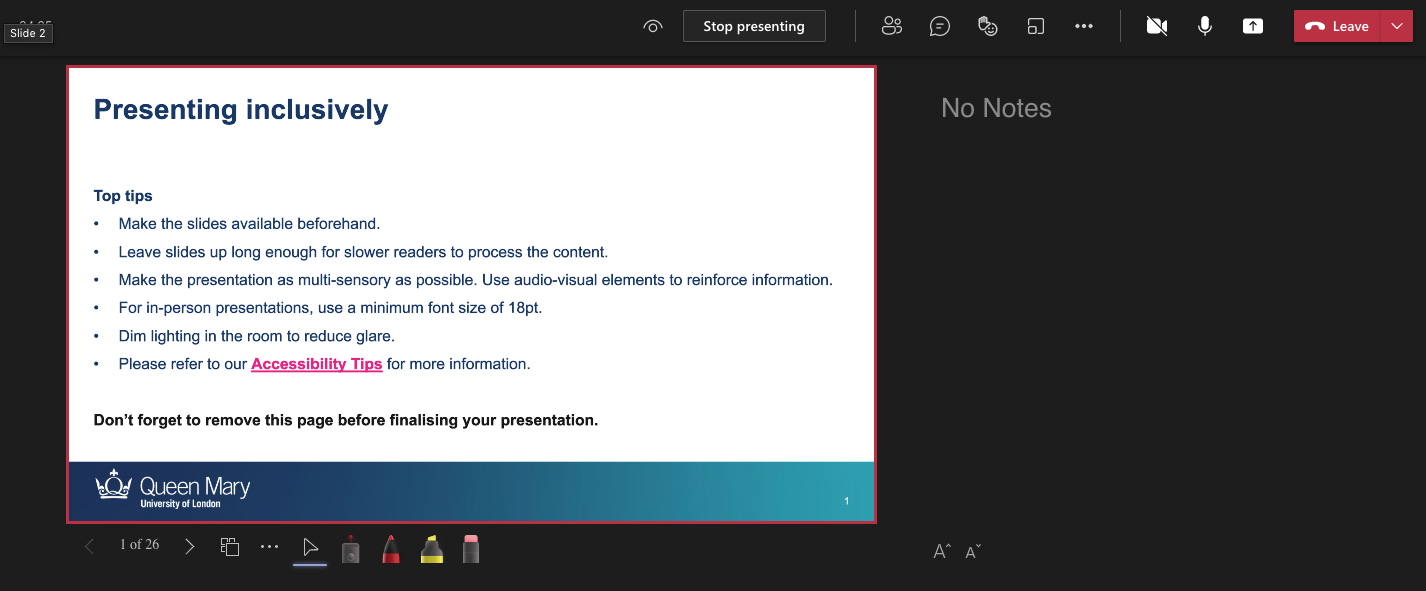
When the presentation has been shared, you will have a set of PowerPoint controls at the bottom of your slides. Use these options to move between slides, open grid view to quickly jump between slides, select a laser pointer, or one of the pen tools to annotate your slides.
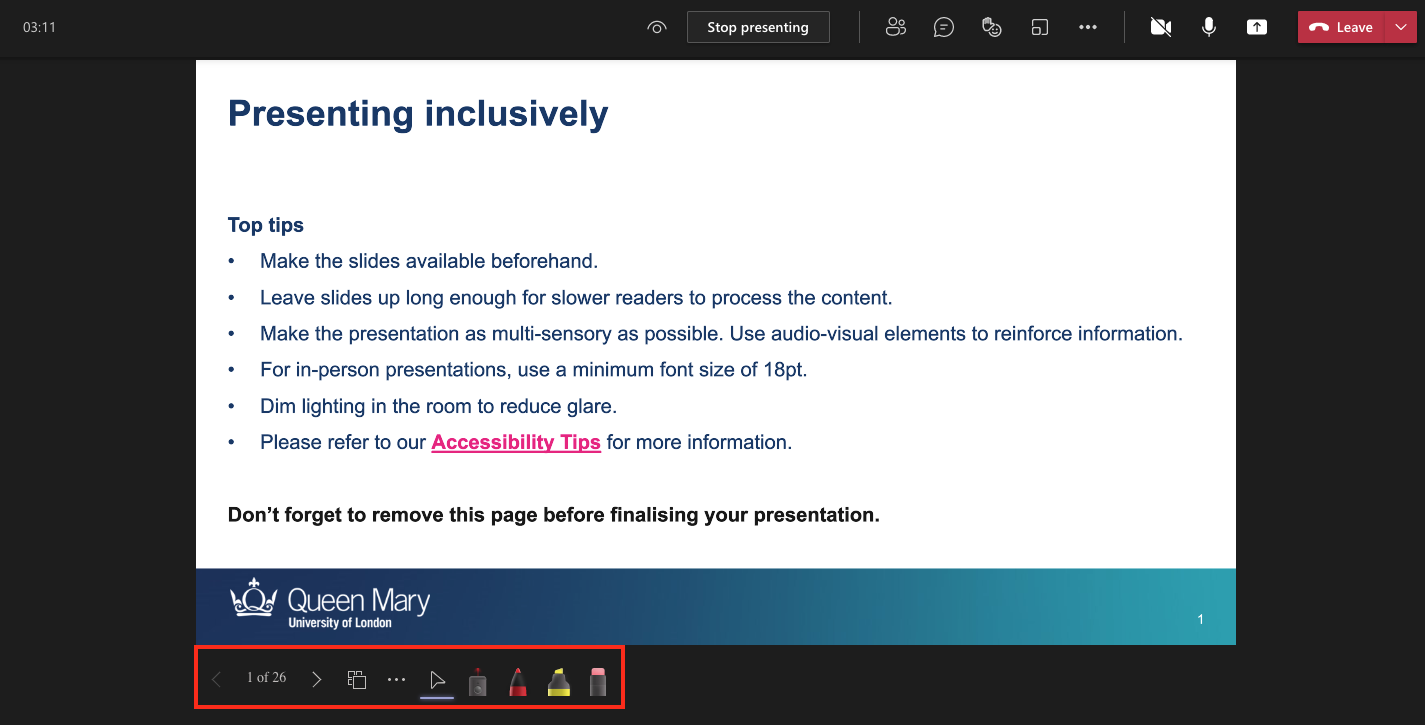
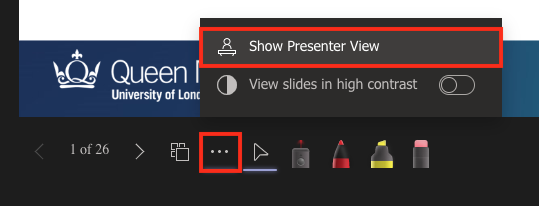
Click the ‘…’ More actions icon to switch between single slide and presenter view, or to view the slides in high contrast mode (which may be helpful in certain instances for accessibility purposes).
In presenter view, you will see any presenter notes displayed on the right side of your presentation.
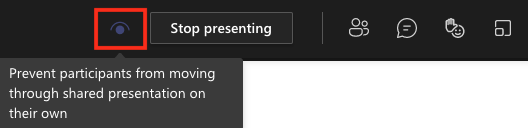
At the top of the window, there is a ‘eye’ icon which you can click to toggle to allow or prevent participants from moving through your shared presentation on their own. Click Stop presenting to end the presentation.
Did this answer your query? If not, you can raise a ticket on the online Helpdesk or email: its-helpdesk@qmul.ac.uk . Alternatively you can also request a particular guide or highlight an error in this guide using our guides request tracker.
Produced by the the Technology Enhanced Learning Team at Queen Mary University of London.
Related items
