
Uploading a profile picture in Teams

For: Staff and StudentsApplication: MS TeamsTagged: Microsoft Teams , web conferencing
Uploading a profile picture in Teams is useful for identifying your account in meetings, particularly during sessions when not using your video camera. Your profile picture will display in Teams meetings beside your name on the Participants panel and, when your camera is not enabled, in the meeting window to show when you are present or speaker in a meeting.
Teams automatically shares your profile picture across Office 365. Changing your profile pictures in Teams will also update the image used for your QMUL email account and other associated Office applications.
This guide covers:
How to upload a photo
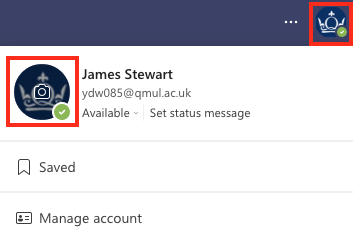
Open the Teams application and click on the Profile menu (the circle icon) at the top-right corner of the window. This will display your current profile information. Hover your cursor over circle where your profile picture will be displayed and click the camera icon which appears.
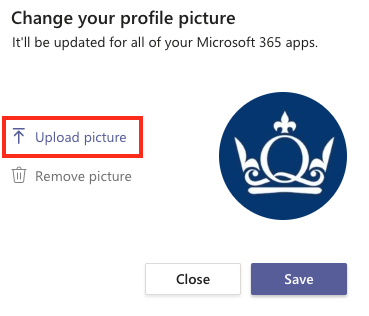
Using the pop-up window that appears, click Upload picture.
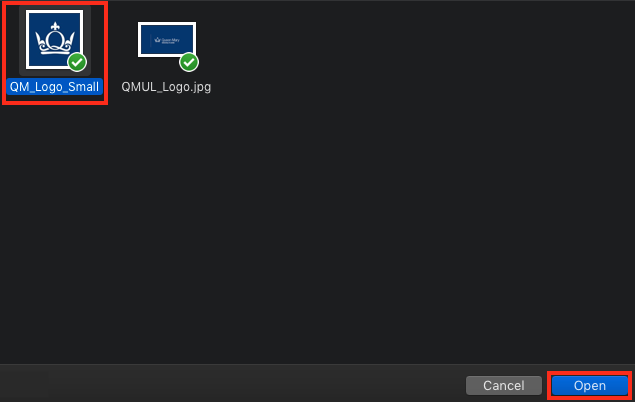
This will open the file browser on your PC. Locate the file you would like to upload, select it, and click Open. The photo needs to be smaller than 4 MB and can be a .png, .jpg, or .gif file.
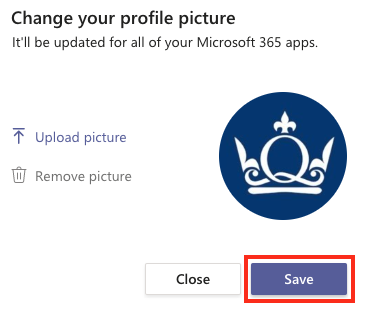
Once the file uploads, a preview will be displayed on the screen. If you would like to choose another photo, repeat the steps above. To confirm your profile picture, click Save and the new photo will update across your Office 365 account.
Did this answer your query? If not, you can raise a ticket on the online Helpdesk or email: its-helpdesk@qmul.ac.uk . Alternatively you can also request a particular guide or highlight an error in this guide using our guides request tracker.
Produced by the the Technology Enhanced Learning Team at Queen Mary University of London.
Related items
