
Creating clips from recordings

For: Staff and StudentsApplication: Box of BroadcastsTagged: audio , multimedia , radio , tv , video
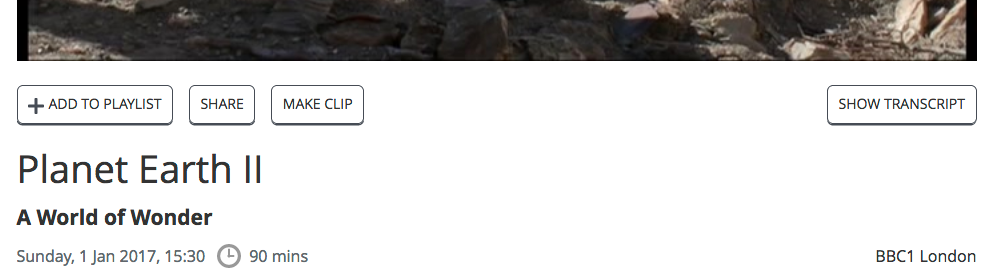
The Box of Broadcasts service allows you to create clips of content. This allows you to share particular parts of programmes that you find as opposed to sharing the entire programme. You can keep your clips private or you can share individual clips or collect clips together into playlists and share those.
Both staff and students can create and share BoB clips.
This guide assumes that you know how log in to BoB and find content on it.
This guide covers
Finding your clip’s starting point
Creating a clip involves defining the start and end points of your clip. The clip editing screen is slightly fiddly. We therefore recommend that you find the starting point of your clip and pause the playback and then click the Make clip button. As opposed to clicking the Make clip button and then trying to find the starting point of the clip.

To find where you want your clip to start, you can search by dragging the video playhead to move within the recording. It is also possible to use the programme transcript (if there is one) to find what you are looking for.
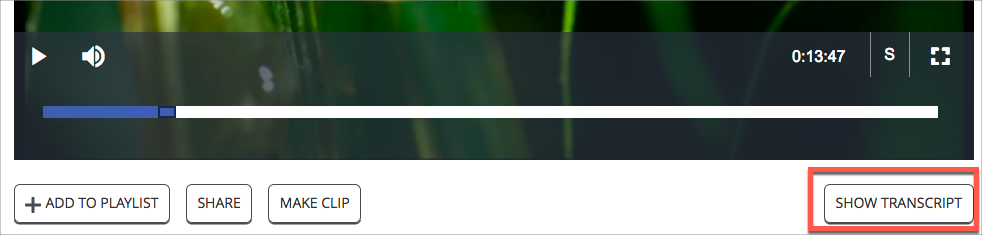
Click on the Show transcript button below the content.
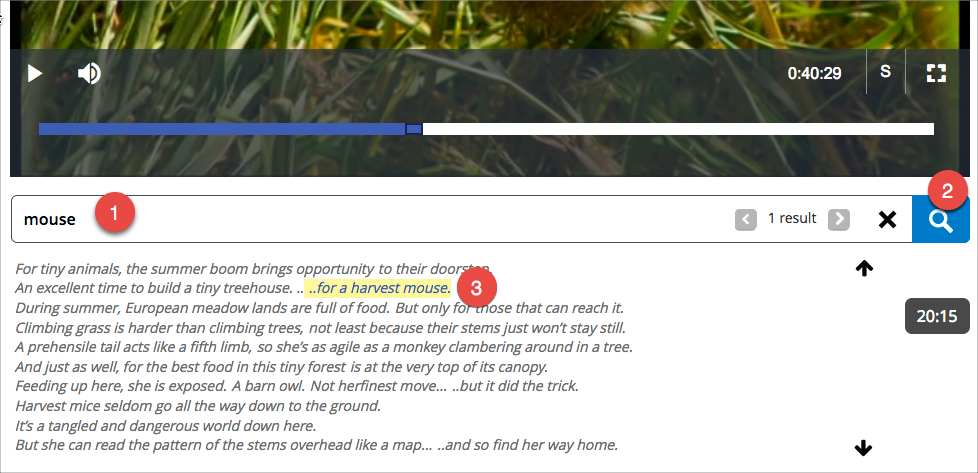
- Type a word you want to look for
- Click on the magnifying glass to search
- If the term is found, it will be highlighted in the transcript window
You can jump to the highlighted area by clicking on it. If there is more than one instance of your search term found, you can move between them by clicking on the arrows in the search box.

Once you have found the starting point of your clip, pause the video playback and click the Make clip button underneath the content.
Using the clip editing screen
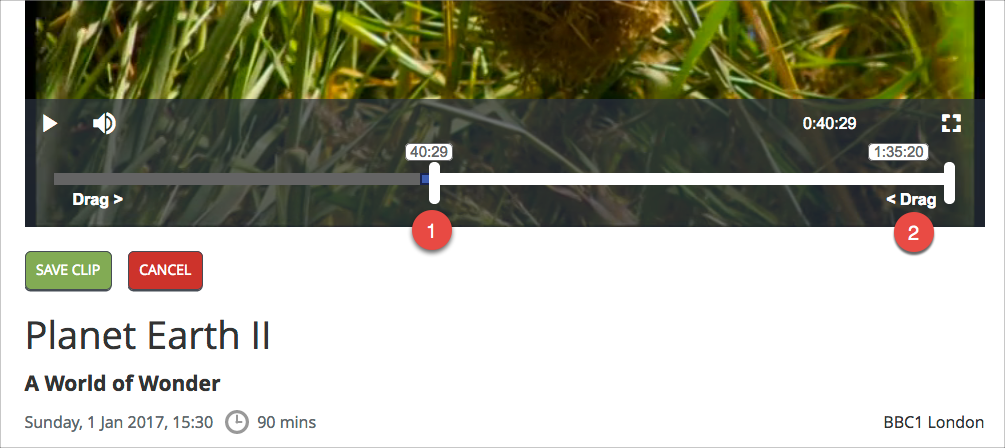
Once you have clicked the Make clip button, you will be in the clip editing screen.
- If you paused playback on the video before clicking the Make clip button, the starting point of the clip will already be defined. If it is not, you will have to drag the vertical bar to the place you want your clip to begin.
- You will need to define the end point of your clip by grabbing the vertical white bar and dragging it to the appropriate place in your recording.
Using the editing screen is a bit fiddly. You can experiment with dragging the vertical bar and trying to find where you want your endpoint to be but it can be a little tricky. Another way to do this is to find the point in the programme you want to be the end point of your clip, note the timestamp and then drag the vertical bar to that time stamp.

Here I have played to where I want the clip to end and noted the time stamp.

As you drag the vertical bar, the associated time stamp will display above it. Drag it until the timestamp on the bar matches the timestamp you want for the endpoint of your clip. It can be tricky to get these to match precisely.
When you are happy. Click the Save clip button.
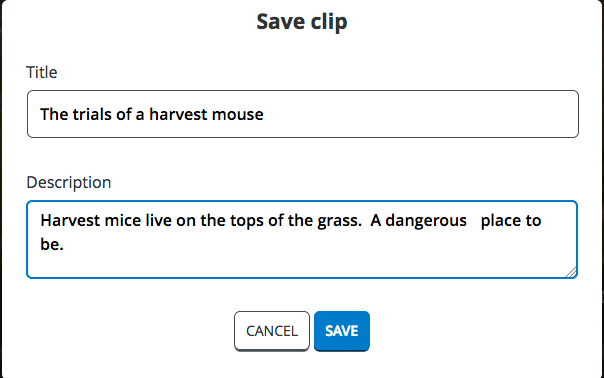
Give your clip a meaningful title and description. Click Save.
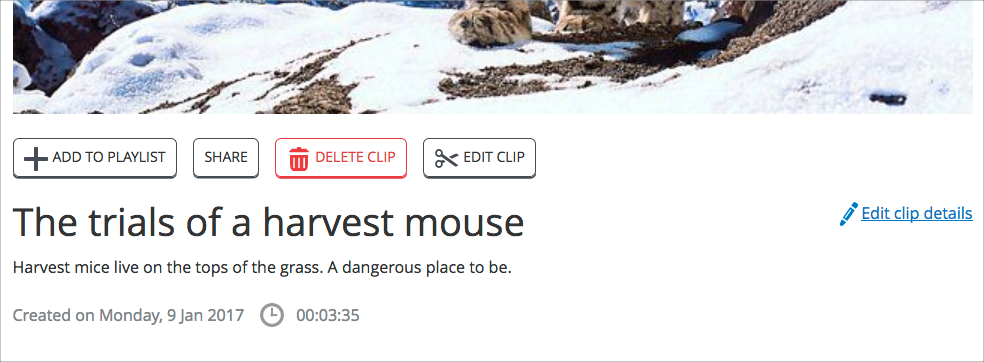
Your new clip is saved with your title and description. You will also see the time the clip was created and the length of the clip.
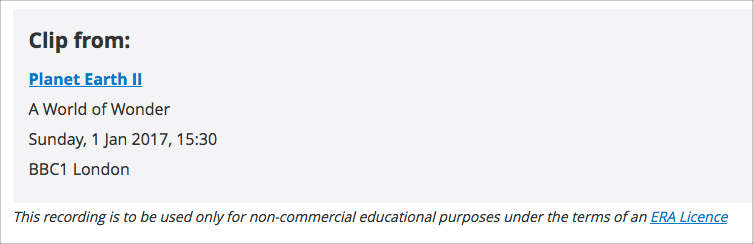
Scrolling further down, you will see details of the programme that the clip was made from. You can click on the link to go to the full programme recording.
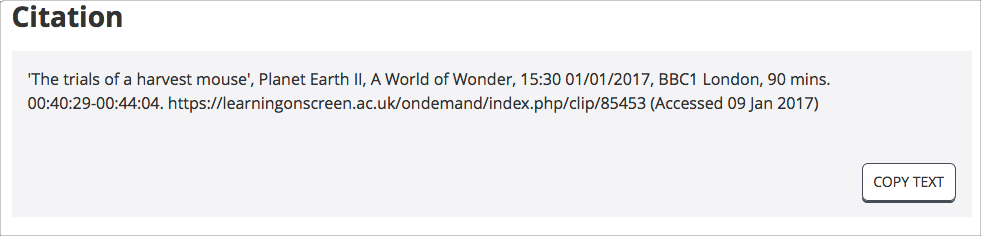
Even further down, you will find the citation information for your clip. You can copy and paste this text to use to reference your clip wherever you might use it.
Accessing and organising your clips
When you save a clip, it is save to your personal Clips area which you will find in My BoB>Clips. Only you can see this clips area. If you wish to share your clip with others, you do this by using the Share functionality. See the guide on Sharing Box of Broadcasts content with others and Sharing BoB content via QMplusfor more details.
You can also add clips to playlists which you can either share with others or keep private. A clip can appear in multiple playlists.
It is also possible to edit clips after they have been created or delete them completely.
Clip tips
- If you make a lot of clips, your clips area can end up being quite large. Use playlists to group related clips together. You can keep playlists private if you just want to use them to organise content for yourself.
- It appears that transcripts and subtitles are not available on clips. It is possible to click on the link for the original programme that the clip was made from and access this functionality there. This link can be found on the clip page in BoB.
- In previous versions of BoB, there was a limit to the number of clips you could make in a day. This restriction no longer applies so you can clip away to your heart’s content.
Did this answer your query? If not, you can raise a ticket on the online Helpdesk or email: its-helpdesk@qmul.ac.uk . Alternatively you can also request a particular guide or highlight an error in this guide using our guides request tracker.
Produced by the the Technology Enhanced Learning Team at Queen Mary University of London.
Related items
