
Using the Quickmail block
Quickmail allows teaching staff to send a message to individual students, a selection of students, or to specific groups that may have been created within the course eg. Seminar group A. It adds a link to a tool that has a check box list of all students in the course, and a mail composition text area – staff (or students, if permitted) can select who they want to send the message to from the list.
This guide covers:
1. Adding the Quickmail block to your course
Step 1: To add the Quickmail block, go into your course page and ‘Turn editing on’![]()
Step 2: On the left-hand sidebar, in the lower left corner of the QMplus page (scroll down if necessary), click on the section entitled ‘Add a block’. (If you don’t see the sidebar, click the three-bar “hamburger” menu at the top left to display it.
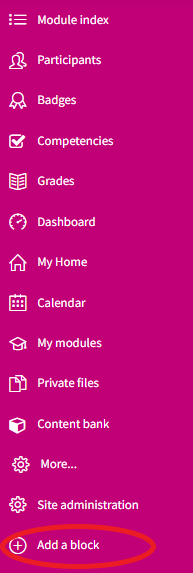
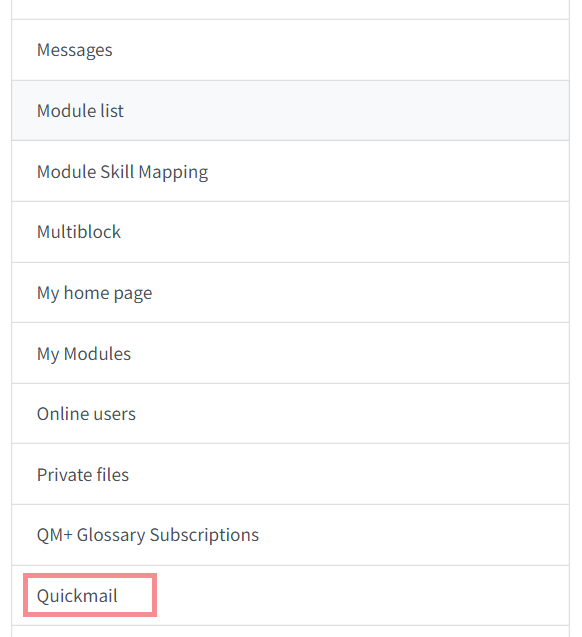
Scroll-down and select ‘Quickmail’ – the block should now appear on your page.
2. Communicating with students via the Quickmail block
Once the Quickmail block has been added it will appear on your page as shown below. Before you send any emails, you can set up your signature (optional) or configure the settings to suit your needs.
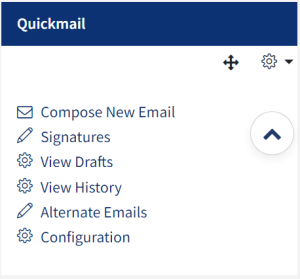
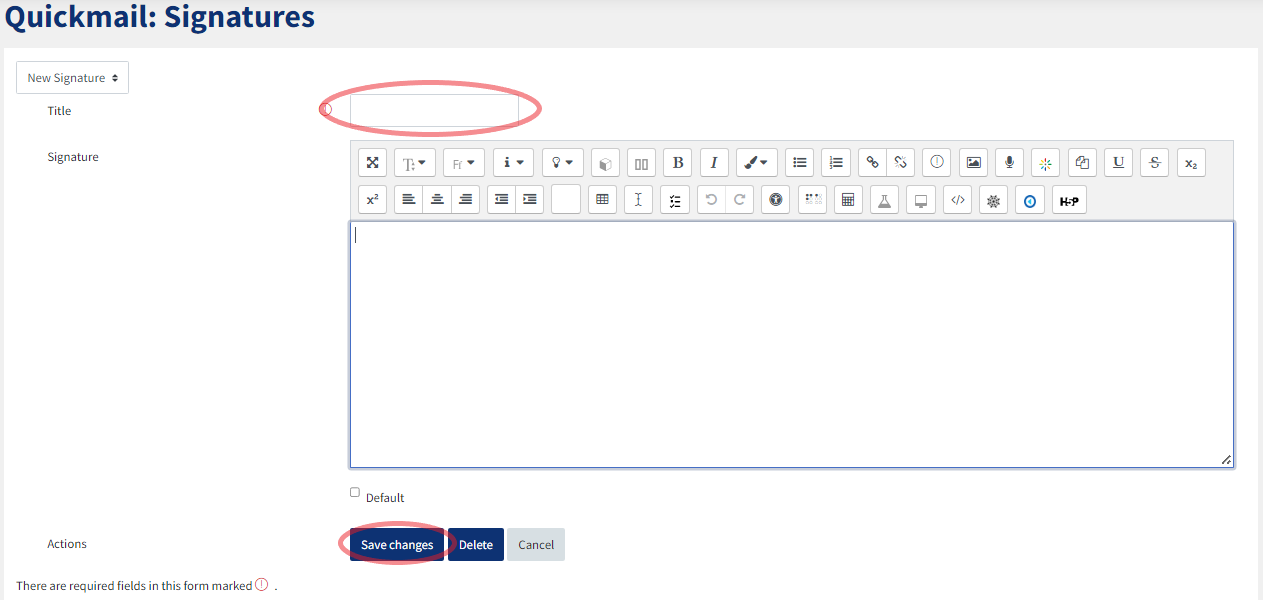
Step 1 (Optional): Select ‘Signatures’ in the Quickmail block to add your signature. Add your ‘Title’ and insert a ‘Signature’ in the text editor below. You can also upload a scanned or drawn signature by adding an image. Select ‘Save changes’.
Step 2: To compose an email or draft email:
- Select ‘Compose new email’ on the Quickmail block.
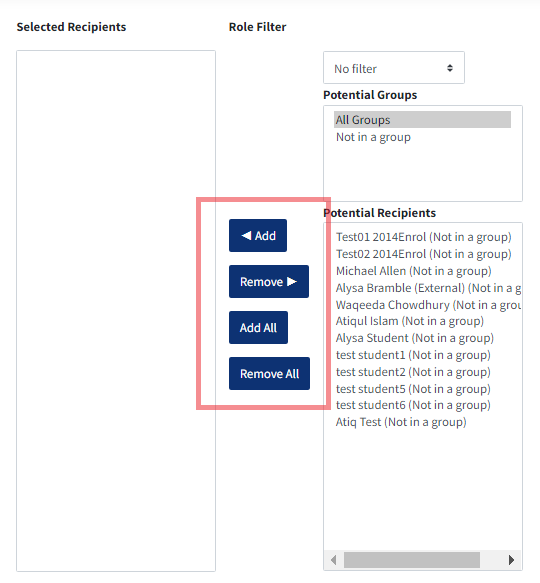
- Select your group or your potential recipients and add them to your selected recipients using the ‘Add’ button.
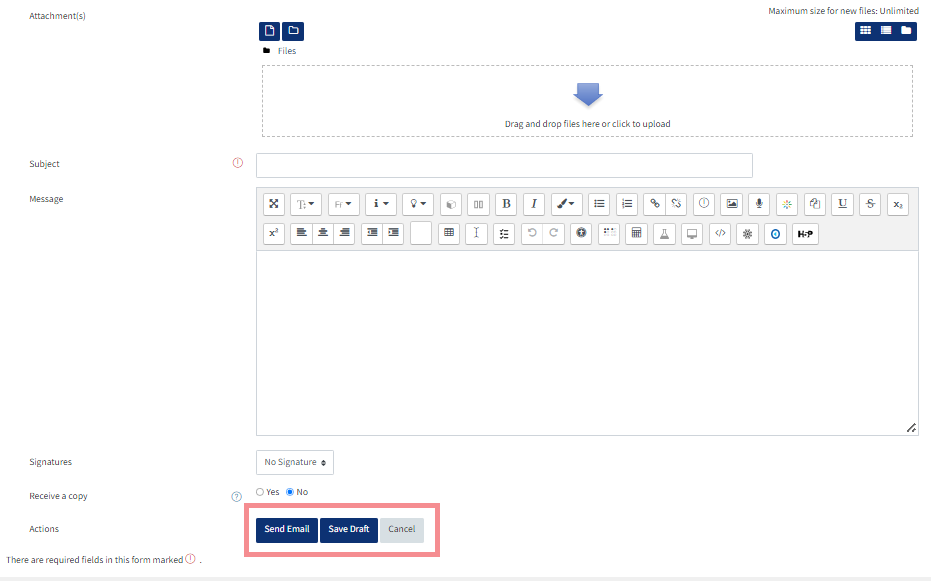
- Once you scroll down you will have the option to add ‘Attachments’ as you would in your email. You can do this using the ‘Drag and drop’ functionality.
- Enter a ‘Subject’ title and ‘Message’ to mail to your students.
- You will also have the option to add or not add your signature which you may have set up (step 1).
- Once you are happy to send your email select ‘Send Email’. Alternatively you can select ‘Save Draft’ to make changes later on.
3. Other links under the Quickmail block
View Drafts:
This option will allow you to view any draft messages which you may have composed. If you have more than one user account select the account which you created the draft email. This option will allow you to ‘Delete Email’ or edit and send the email. .

View History:
This option will allow you to view the history of emails which you may have sent. This page displays a table with information regarding sent emails. The columns are as follows:
- Date: the day and time of when the email was sent.
- Subject: the subject of the email.
- Attachment: name of the attachment sent along with the email.
- Action: contains action buttons. The button that looks like a magnifying glass takes you back to the Compose email page, but pre-fills the form with the original values from the old email. This is handy for resending an email to a particular user or for sending similar emails. The other option allows you to ‘Delete Email’.

Alternate Emails:
This option will allow you to add another email account which you may use. This allows you to select which email account you would like students to receive the email from. To set this up follow the following steps.
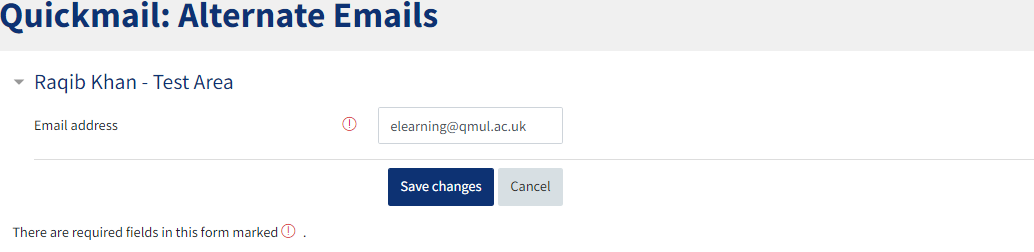
Step 1: Select the ‘Alternate Emails’ option from the Quickmail block.
Step 2: Under ‘Email address’, add the new alternate email you would like to send emails from. Select ‘Save Changes’.
Step 3: The following page will appear which explains that the email address will need to be verified. Select ‘Continue’.

Step 4: The ‘Activation Status’ will show waiting until the email address is not verified. Your alternate email address will receive an email asking you to verify the account. Log into your email account and follow the link to verify the account.

Step 5: The ‘Activation Status’ will change once the account has been verified to show ‘Approved’.
Step 6: When composing an email you will now be able to select which email account you would like the student to receive the email from.
Configuration:
To configure your Quickmail block, select ‘Configuration’. The settings will allow you to decide the following:
- Whether you would like to ‘Allow students to use Quickmail’. This would be a good way for you to communicate with students.
- Any ‘Roles to filter’ for your Quickmail (only teachers and course administrators can set this).
- Whether you would like to add the course short name or ID to the beginning of the subject of emails.
- Whether you would like to ‘Receive a copy’ of the emails.
One you select your preferences, select ‘Save changes’.

You may also want to look at:
‘Emailing and Messaging Your Students’ to explore other methods to communicate with students.
