
Using a book to structure your content
As you add chapters to a QMplus ‘Book’, each chapter title is automatically added to an interactive table of content which allows you to navigate from one chapter to another. ‘Books’ are able to display a multitude of formats including text, images, audio and video.
This guide covers:
It assumes you know:
Adding a Book to your course page
- TURN EDITING ON via the slider (in the top right of your screen).
- Select the topic where you would like to add your ‘Book’.
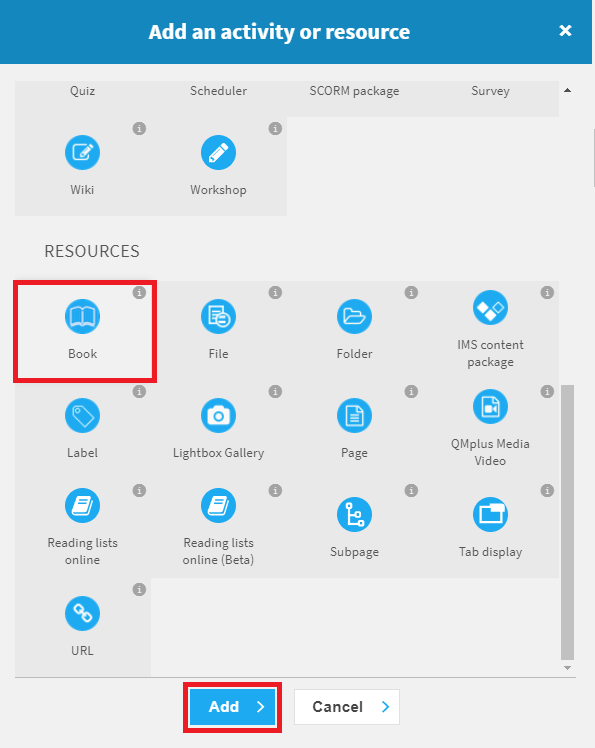
- Click on the Add a resource dropdown menu.
- Select Book. This will open the ‘Book’ option screen.
Filling in the Book options screen
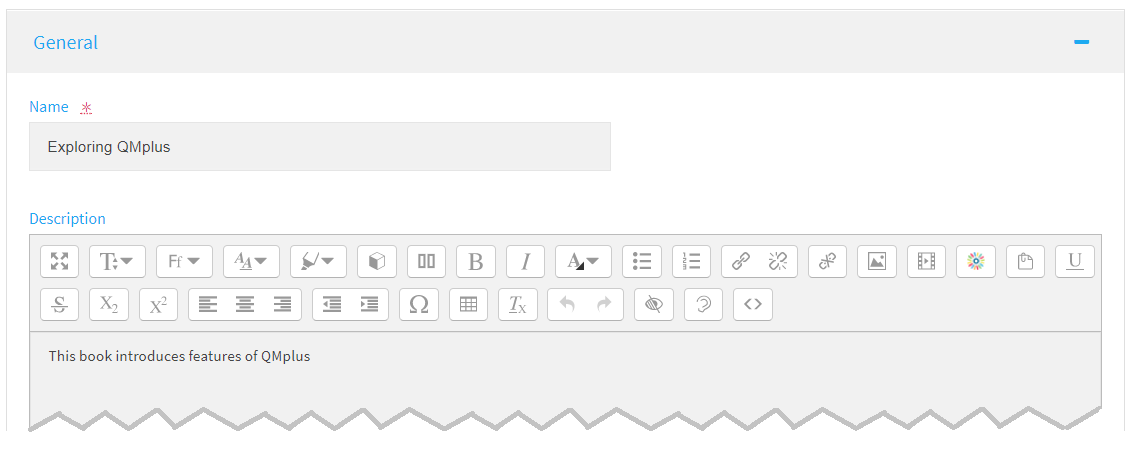
- Give your ‘Book’ a name. This name will appear on your course page.
- Add a descriptive summary to your ‘Book’.
- Click SAVE AND DISPLAY.
Adding your first chapter
-
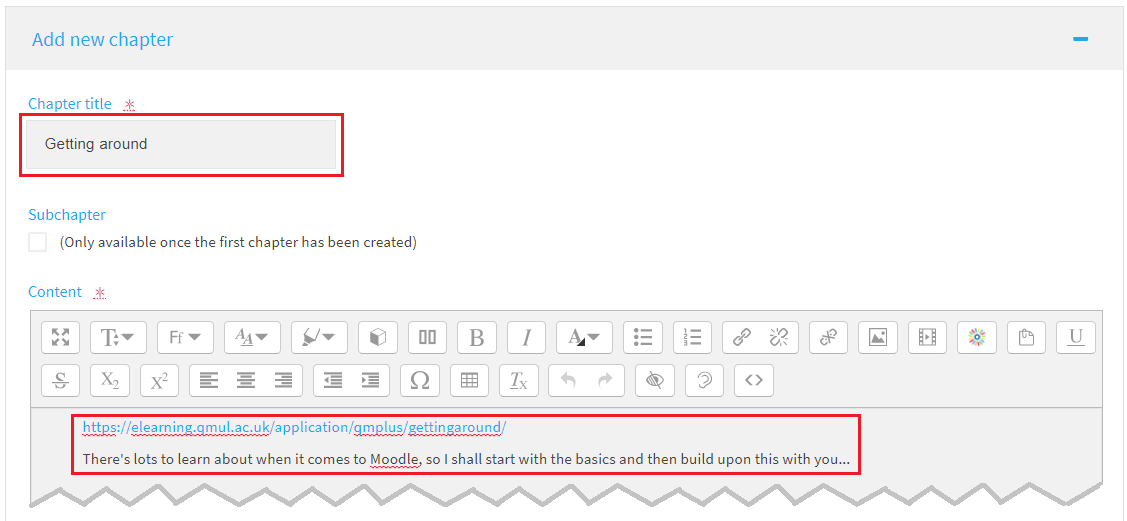
- Name your first chapter.
- Add the content to your first chapter using the Text Editor. As well as text, images, audio video and more can be added via the various icons located above the ‘Content’ text box.
- Click SAVE AND DISPLAY.
Viewing your first chapter and adding a second chapter
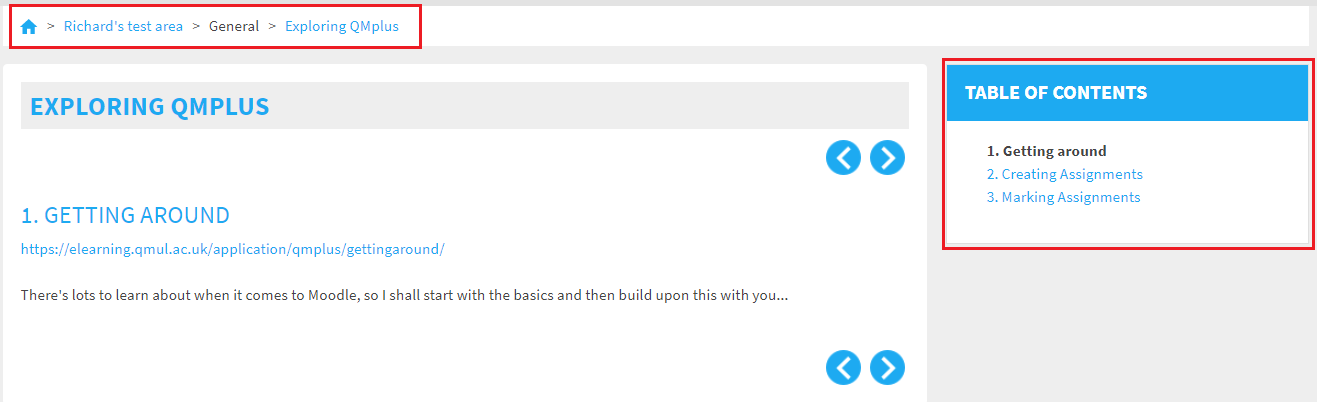
Your first chapter is displayed in the TABLE OF CONTENTS in the top right corner. To add another chapter click on the plus (+) icon.

As more chapters are added, these automatically appear in the TABLE OF CONTENTS. In this way, numerous chapters and sub-chapters can be added to your ‘Book’. To leave your book and navigate back to your course page, click on your course code which appears in the ‘breadcrumb trail’ located at the top of your course page.
You may also be interested in Mark Roberts’ video on ‘Organising resources using Moodle Books’, below;
i
