
Tidying up and naming the files on your course page
It is very easy for course areas on QMplus to end up consisting of long lists of files. This makes it difficult for students to find what they are looking for and means a lot of scrolling through course pages. This guide provides some hints on how to tidy up your file lists to make life easier for your students.
This guide covers:
Using meaningful names and helpful descriptions
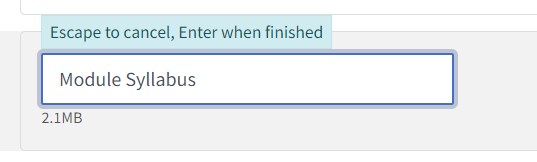
It’s quick and easy to upload files to your QMplus course area by using drag and drop. However, by default, the name shown for the file will be the filename and more often than not this is not particularly useful to students, or indeed anyone other than yourself! This is especially problematic for anyone using a screenreader. Try giving your files meaningful names to allow people to quickly find what they are looking for. You can quickly edit the name of a file by turning editing on, then clicking on the pencil icon to the right of the resource.
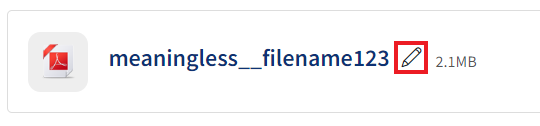
Once you have renamed the resource, hit the enter key to save the changes
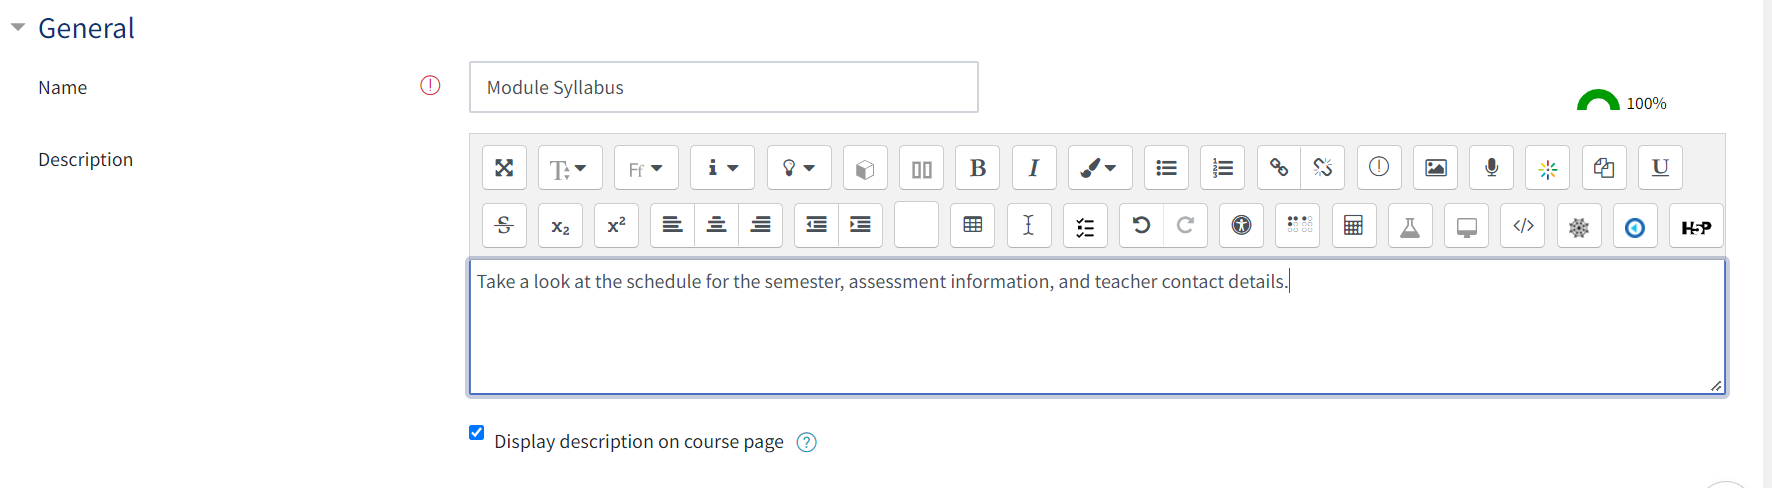
Even better, consider entering a description for the file that tells the student more about what the file is for. This has to be done through the file settings.
Ensure that you tick the box to ‘display description on course page’.
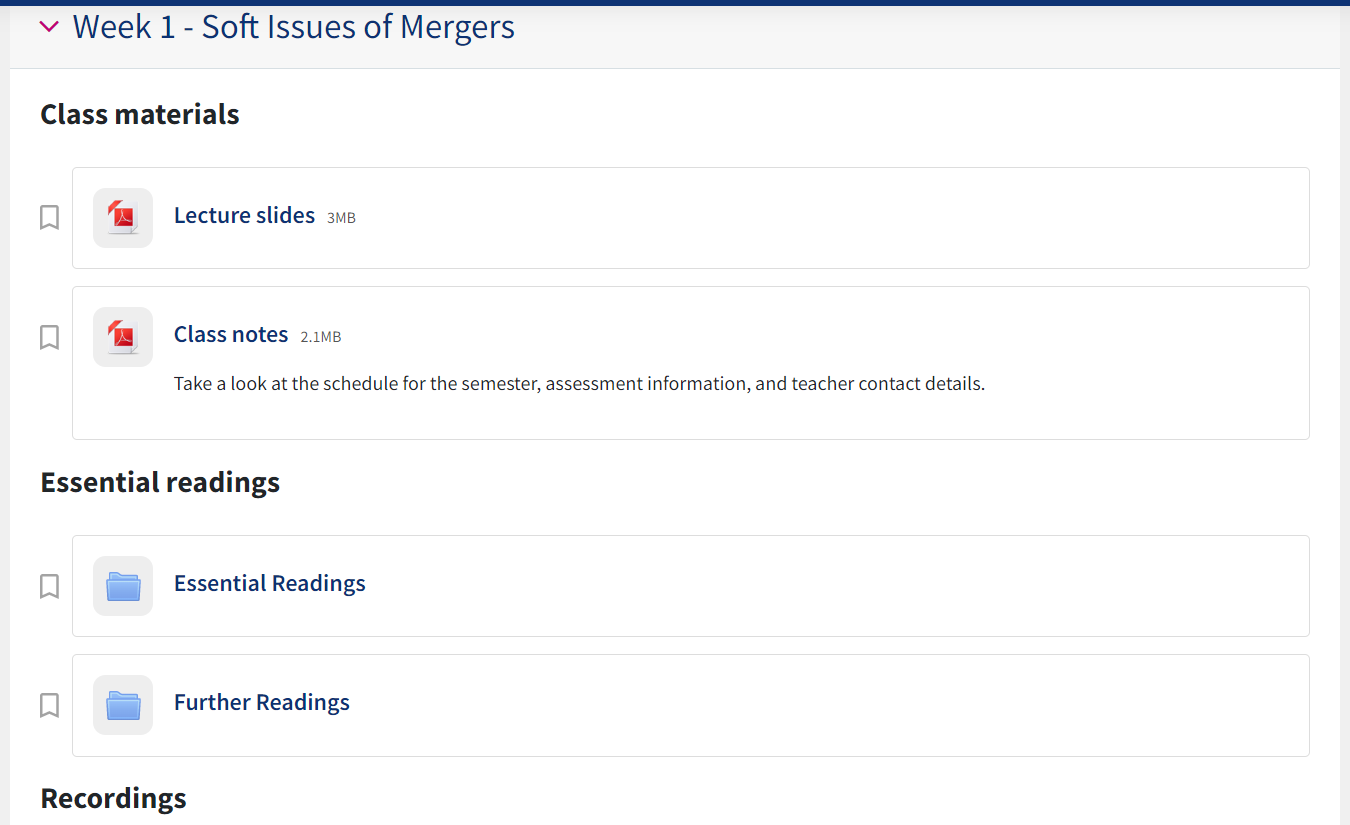
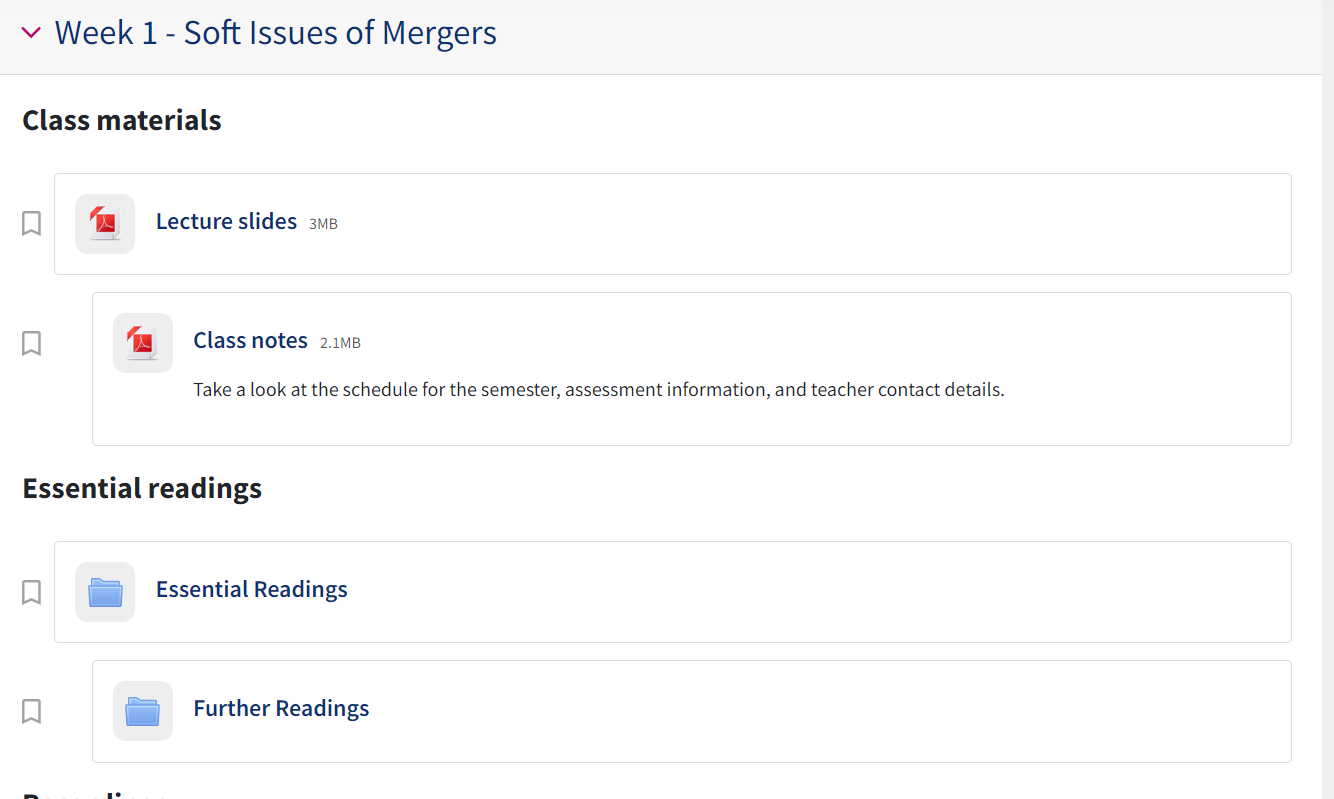
The resources are then more identifiable, as seen below:

Using labels and indents

Look at the list of files in the screenshot above. Notice how difficult it is to scan. Would you find it easy to find a particular file in this list? Where are the lecture slides? Which are the core readings?
The screenshot above shows the same list of files using ‘labels’ to create headings – related files can then be organised under these headings. See this Moodle doc on labels for more details.
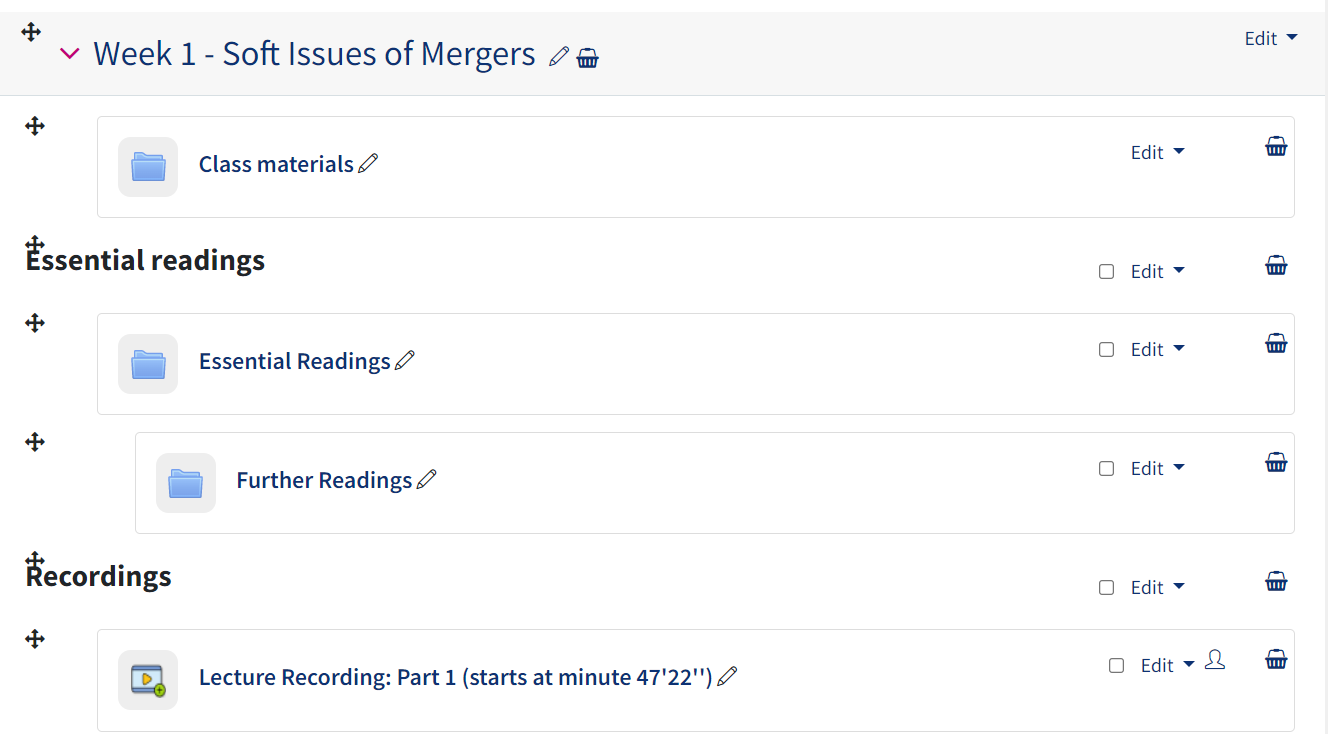
…And below you can see how the resources appear with both the labels and ‘indents’ applied:
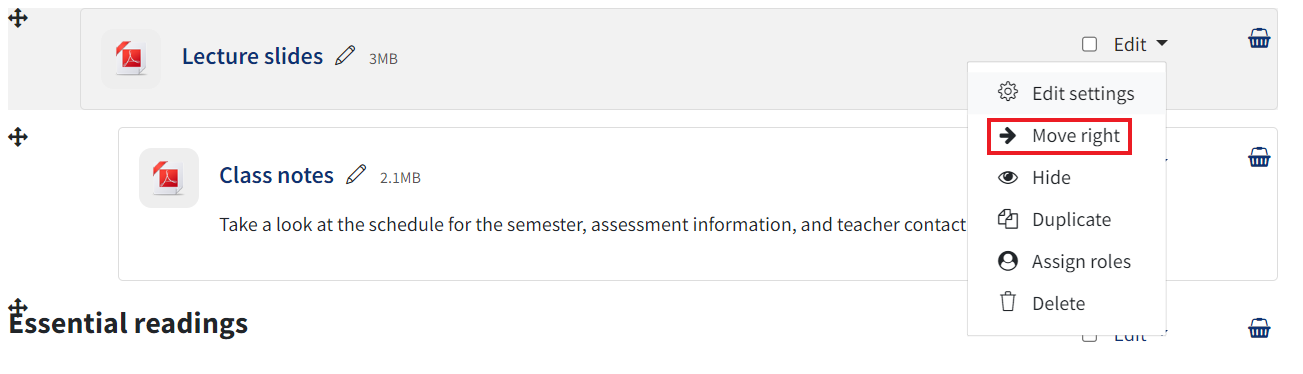
To create indents, simply turn editing on then click on the 3 dots to the right of the resource and select ‘move right’. Upon applying an indent, one can repeat the process to indent the content further across:
 Using folders
You can also use folders on QMplus course pages to organise files.
The screenshot above, shows the same list of files as before. In this case files have been added and resources put into these folders instead of being listed on the course page.
